Pie Crust Diagnostic Guide
Your pie crust turned out tough, crumbly, or greasy? This guide diagnoses the most common pie crust failures, explains their root causes, and provides precise fixes, ensuring your next attempt achieves flaky perfection.
What Perfect Pie Crust Actually Looks, Feels, and Tastes Like
| Stage | Success marker — what you should see / feel / smell / hear |
|---|---|
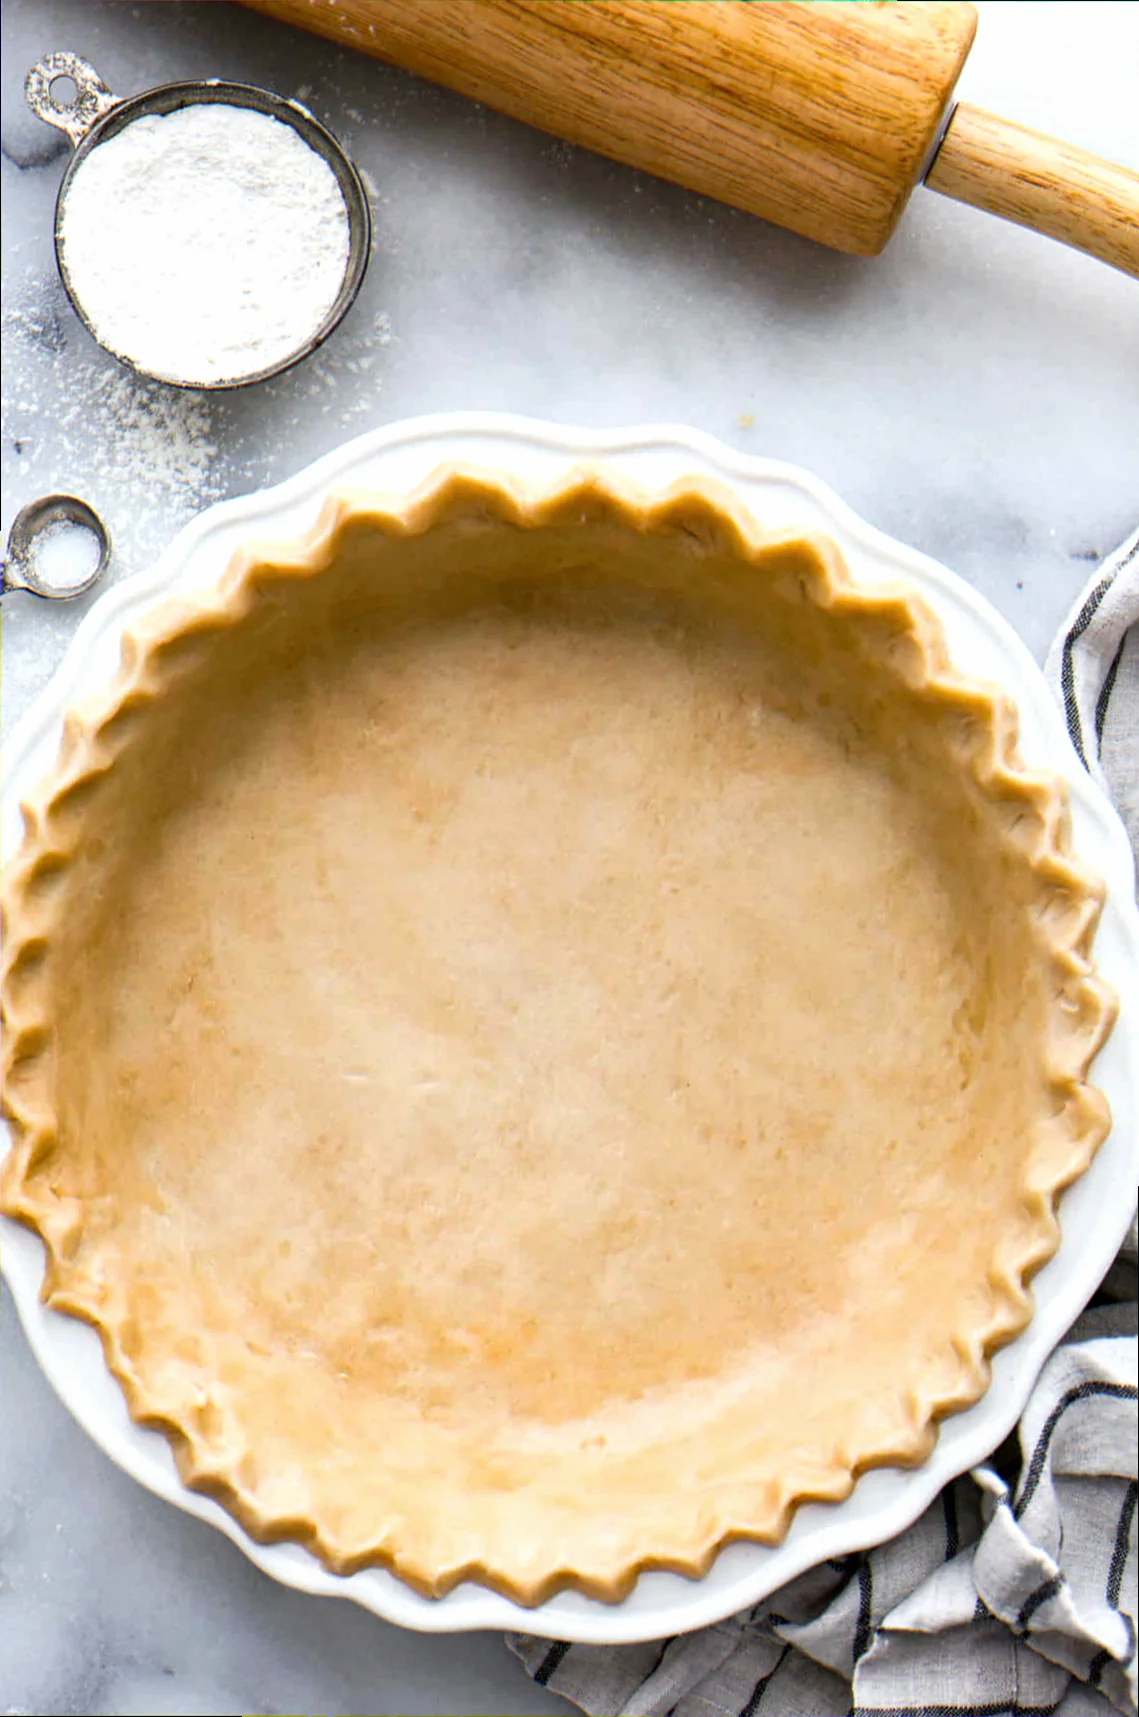
| Raw dough | Smooth, slightly shaggy but cohesive, not sticky or wet. Smells faintly of flour and fat. No oily sheen. |
| Blind-baked crust | Golden brown, dry to the touch, no pale patches. A light, toasty aroma. Sounds slightly crisp when tapped. Edges are firm. |
| Baked with filling | Golden-brown all over, especially at the bottom edge. No visible liquid pooling. A rich, baked aroma. |
| When serving | Crisp exterior yielding to a tender, flaky interior. Tastes buttery and slightly savory, with a clean finish. No greasiness or raw flour taste. |
The Ingredient Failures — Wrong Choices Before You Even Start Cooking
- Tough Crust: caused by high-protein flour (e.g., bread flour) → fix: All-purpose flour with protein content between 10-11.5%.
- Greasy Crust: caused by softened or melted butter → fix: Unsalted butter, very cold, cut into ½-inch cubes.
- Gummy Crust: caused by too much water or warm ingredients → fix: Ice water, added a tablespoon at a time, only until dough just comes together.
- Pale, Uneven Crust: caused by low-fat shortening or margarine → fix: All-vegetable shortening or high-fat (82%+) butter for best flakiness and browning.
- Flaky but Brittle Crust: caused by overworking the dough with too little fat → fix: Use a fat-to-flour ratio of at least 1:2 by weight, and handle dough minimally.
The Technique Failures — What Goes Wrong During Cooking
- Tough Crust: what it looks like – dense, breaks into large chunks rather than flaking. Caused by over-developing gluten, usually from too much mixing or kneading, or adding water to a dry mixture. → fix: Gently cut butter into flour until it resembles coarse meal with pea-sized lumps. Add ice water gradually, just until the dough begins to clump together. Mix until just combined.
- Greasiness / Soggy Bottom: symptom – a greasy sheen on the crust, or a wet, unbaked bottom layer. Caused by using liquid fat that melts too quickly, or not chilling the dough sufficiently, allowing fat to render during baking. → fix: Chill the formed pie shell for at least 30 minutes (or up to 2 days) before filling and baking. If blind-baking, use pie weights or dried beans for the first 15-20 minutes.
- Shrunken Crust: symptom – crust pulls away from the sides of the pie plate, leaving a gap. Caused by stretching the dough when lining the pie plate, or not docking the bottom sufficiently. → fix: Gently ease the dough into the pie plate without stretching. Crimp the edges firmly. Dock the bottom of the unbaked crust all over with a fork (prick holes).
- Cracked Crust Edges: symptom – edges split and break apart during baking. Caused by dough being too dry, or edges being too thin. → fix: Ensure dough has enough moisture to hold together. When crimping, fold the excess dough under to create a thicker edge, then crimp firmly.
- Pale, Undercooked Bottom: symptom – the bottom crust remains pale and doughy. Caused by insufficient oven temperature, too much moisture in the filling, or using a dark baking sheet. → fix: Bake at a higher initial temperature (200-220°C) for the first 15-20 minutes, then reduce. Place the pie directly on the oven rack or a preheated baking sheet. Ensure filling is not overly watery.
The Equipment Failures — When Your Tools Are the Problem
- Uneven Browning / Hot Spots: what the wrong version causes – some parts of the crust are burnt while others are pale. → what to use instead – A glass or ceramic pie plate promotes more even baking than thin metal. A baking steel or pizza stone placed on the oven rack below the pie can help distribute heat evenly, preventing a soggy bottom. → why it matters – Consistent heat is crucial for uniform browning and flakiness.
- Crust Sticking to the Plate: the failure it produces – crust tears when removing a slice. → the fix – A well-seasoned cast iron pie pan or a good quality non-stick pie plate. → the workaround if unavailable – Thoroughly grease and flour any pie plate, or line it with parchment paper if the design allows.
- Overworked Dough: why this specific tool exists for this dish – A pastry blender or your fingertips are ideal for cutting fat into flour without warming or overworking the dough. → acceptable substitute – Two forks or a food processor on a pulse setting can also work, but require careful attention to avoid over-processing.
The Full Recipe — Built Around Preventing Every Failure Above
- All-purpose flour — 300g — Prevents toughness from high-protein gluten development.
- Unsalted butter — 150g, very cold, cut into ½-inch cubes — Ensures flakiness and prevents greasiness.
- Ice water — 60-120ml (approx.) — Prevents gummy dough and ensures proper gluten development without toughness.
- Salt — 5g — Enhances flavour and aids in browning.
Method:
- Combine: In a large bowl, whisk together the flour and salt. Add the cold, cubed butter. — This prevents toughness by keeping the butter cold and distinct. — Success marker: The mixture should resemble coarse meal with some pea-sized lumps of butter visible.
- Cut in Fat: Using a pastry blender or your fingertips, cut the butter into the flour until the mixture resembles coarse meal with some pea-sized lumps of butter remaining. — This ensures flakiness by creating pockets of fat that will steam during baking. — Success marker: No large streaks of butter, but visible pieces.
- Add Water: Gradually add ice water, 1 tablespoon at a time, mixing gently with a fork until the dough just begins to come together. Do not overmix. — This prevents gummy dough by adding just enough moisture to hydrate the flour without over-activating gluten. — Success marker: The dough should clump together when squeezed but not be wet or sticky.
- Form and Chill: Turn the dough out onto a lightly floured surface and gently bring it together into a disc. Wrap tightly in plastic wrap and refrigerate for at least 30 minutes, or up to 2 days. — This allows the gluten to relax, preventing shrinkage, and ensures the fat is firm for flakiness. — Success marker: Dough is firm and easy to handle, not sticky.
- Roll and Line: On a lightly floured surface, roll out the chilled dough into a 12-inch circle. Gently transfer to a 9-inch pie plate. Do not stretch the dough. Trim and crimp the edges. — This prevents shrinkage by not stretching the dough and ensures a thick, sturdy edge. — Success marker: Dough lines the plate evenly without pulling.
- Dock and Chill Again: Prick the bottom of the crust all over with a fork. Chill for at least another 30 minutes before filling. — This prevents a soggy bottom by allowing steam to escape. — Success marker: The pricked dough looks dry and firm.
- Bake: For blind baking, line with parchment paper and fill with pie weights or dried beans. Bake at 200°C for 15 minutes. Remove weights and paper, bake for another 5-10 minutes until golden. For a filled pie, bake according to your recipe, often starting at 200-220°C for the first 15-20 minutes, then reducing to 175°C. — This high initial temperature promotes browning and initial crisping. — Success marker: Crust is golden brown, particularly at the edges, and feels dry to the touch.
How to Rescue [Primary Entity] When It Has Already Gone Wrong
- If your crust is tough: Unfortunately, toughness caused by over-developed gluten is irreversible. The best approach is to try to break it up as finely as possible and incorporate it into a bread pudding or a crumble topping. For future attempts, focus on minimal mixing and keeping ingredients very cold.
- If your crust is greasy or soggy: If the bottom is just slightly soggy before filling, you can try transferring it to a hot baking sheet (200°C) for 5-10 minutes to crisp it up. If it’s significantly greasy, it’s difficult to rescue the texture. You can still proceed with the filling, but the texture will be compromised. For future attempts, ensure dough and ingredients are very cold and chill thoroughly.
- If your crust has shrunk significantly: If the shrinkage is minor, you can carefully patch it with excess dough or fill it generously, hoping the filling masks the gap. If it’s severely shrunk, it’s best to start over, ensuring the dough wasn’t stretched during lining and was chilled sufficiently.
- If your crust edges are cracked: You can attempt to patch small cracks with a little water and excess dough, pressing gently. For more significant cracks, you can cover the edges with a decorative crust or a foil shield during baking to prevent further cracking or burning.
Make-Ahead: Which Failures This Introduces and How to Avoid Them
Making pie crust dough ahead of time is excellent for preventing technique failures, but improper storage can introduce new ones.
- Failure: Dryness and Cracking when rolling out after refrigeration.
- Cause: Dough dries out in the refrigerator.
- Fix: Ensure dough is wrapped very tightly in multiple layers of plastic wrap or in an airtight container. If it feels dry, let it sit at room temperature for 10-15 minutes before rolling.
- Failure: Toughness and Shrinkage if dough is overworked during wrapping or if the fat warms up.
- Cause: Dough is handled too much, or fat softens.
- Fix: Form into a disc without kneading, wrap immediately, and refrigerate. Ensure your refrigerator is set to 4°C or below.
Related topics: Recipe apple pie crust · Turnover recipe with pie crust · Littice pie crust recipe
Diagnostic FAQ — Real Failures, Real Fixes
My pie crust turned out tough and broke into large chunks — what went wrong?
This is typically toughness, caused by over-developing gluten from too much mixing or handling, or using too much water. For next time, focus on cutting the fat into the flour until it resembles coarse meal with pea-sized lumps, and add ice water only until the dough just comes together, mixing minimally.
It looked right but tasted greasy — where did I go wrong?
This is greasiness, most likely caused by using butter that was too soft or melted, or not chilling the dough sufficiently before baking. Ensure your butter is very cold and cut into distinct pieces. Chill the formed crust for at least 30 minutes before filling and baking.
Everything looked perfect until I cut into it, and the bottom was pale and doughy — why did it fail?
This is a pale, undercooked bottom, usually due to insufficient oven heat reaching the base of the pie. Ensure your oven is preheated properly, and try placing the pie directly on the oven rack or a preheated baking sheet for the entire baking duration, especially for wetter fillings.